Rural intersection: create side road regions
Total video time: 10:22
Last updated: 2026-01-06
 Insert assemblies
Exercise files: rurl-int-mnln-asmbly-crdr-trgt-end-data-c3d16.zip
Start with: 12345678\Design\Corridors\Crdr-25-4thAve.dwg
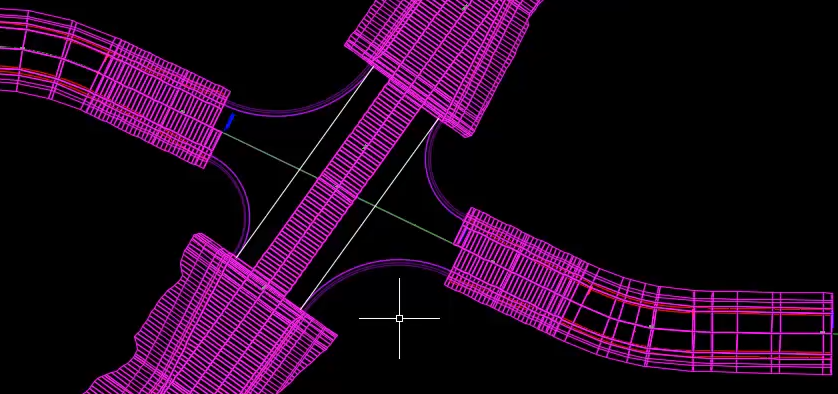
Here we will add in the side road using regions for 4th Ave
-
Select the Corridor > Corridor Properties > Parameters tab > Add Baseline > Lcl-4thAve
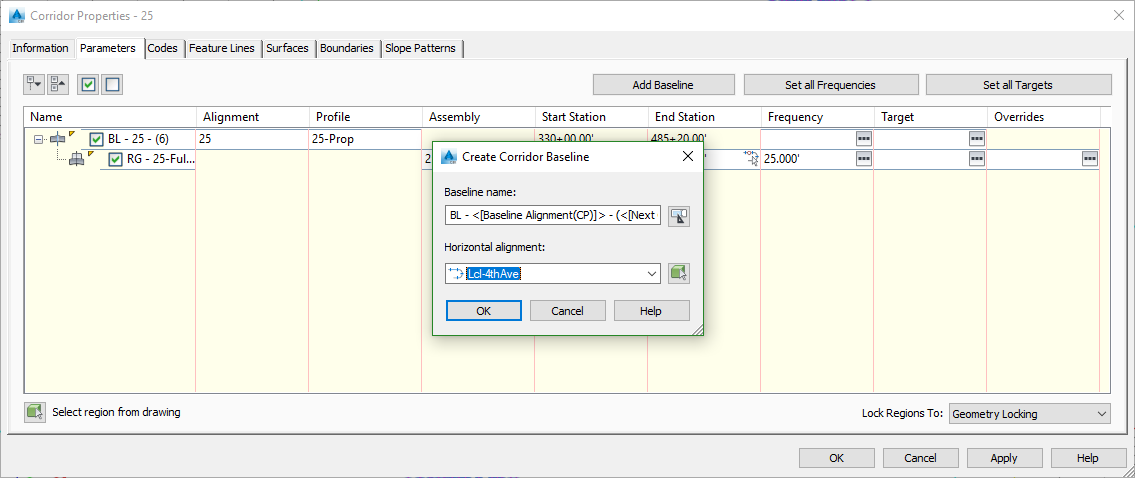
- Alignment > Lcl-4thAve
- Profile > Lcl4thAve-Prop
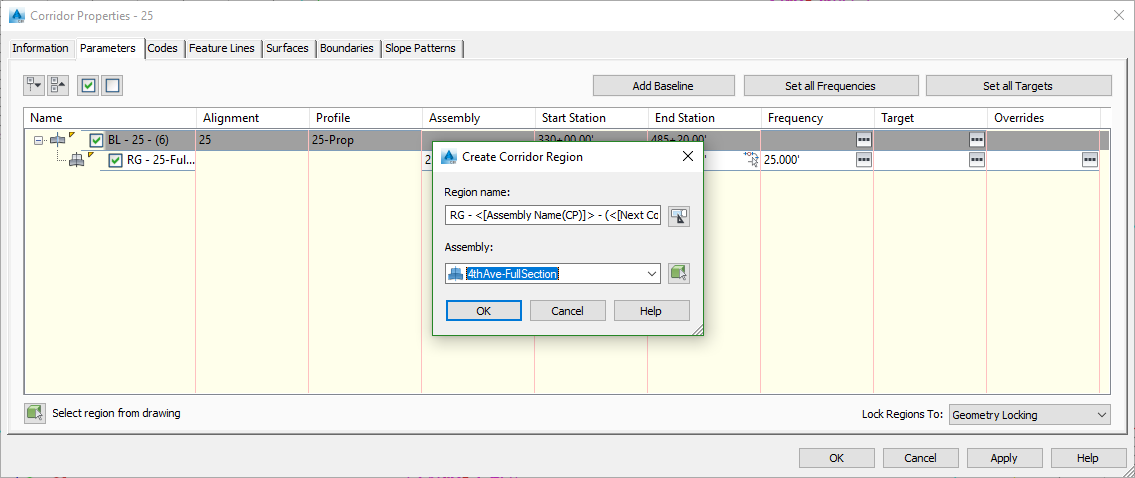
- Right click the region and Add Region
-
Select the 4thAve-FullSection to start
-
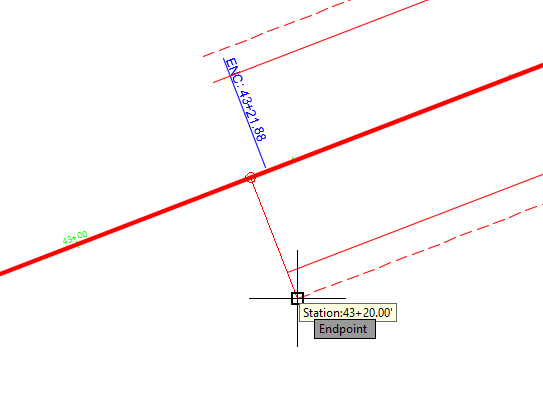
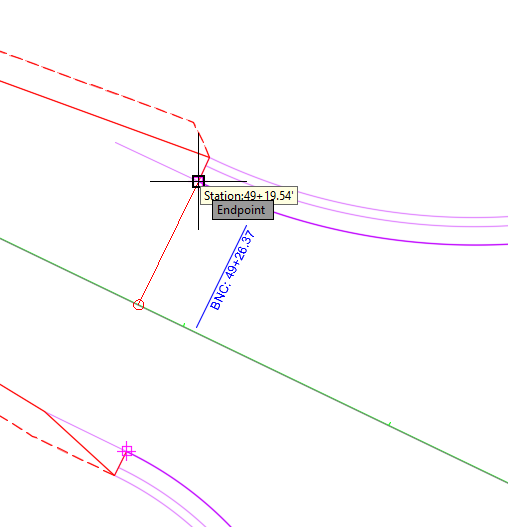
Select the region > In Start Station click select on screen > Select the beginning of one of the alignments
- End Station > Select from screen
-
Select the beginning of the first taper.
-
Select the region > In Start Station click select on screen > Select the beginning of the first taper
- End Station > Select from screen
-
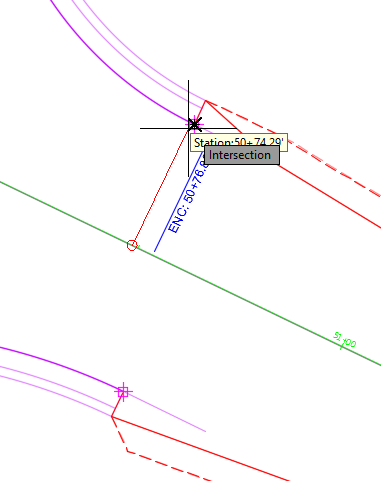
Select the first curb return
- Set frequency to 2.5 FT
- Click ellipsis button on Frequency for region
- Along tangents: 2.5
- Curve increment: 2.5
- OK
- Right click the region > Insert region - After
Info: Because the curb return will be the target on the left side here we will only have lane and daylight on the right hand side until the other curb and gutter starts.
-
Assembly > 4thAve-Day-Right > Select the start of curb return on the right

-
Set frequency to 2.5 FT
- Click ellipsis button on Frequency for region
- Along tangents: 2.5
- Curve increment: 2.5
- OK
-
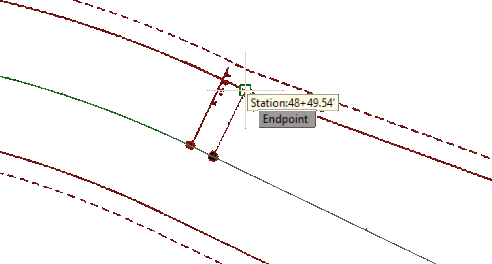
Right click that region > Insert Region - After > Assembly > 4thAve-Day-Left > > Begin Station > Select the nearest curb return on the far side of intersection
-
Right click the region > End Station > select the farthest taper
-
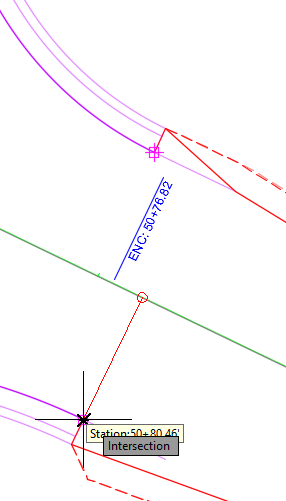
Right click that region > Insert Region - After > Assembly > 4thAve-Null > Select the nearest curb return on the far side of intersection
-
Right click the null region > Insert Region - After > 4thAve-Day-Left > End Station > select the next curb return
-
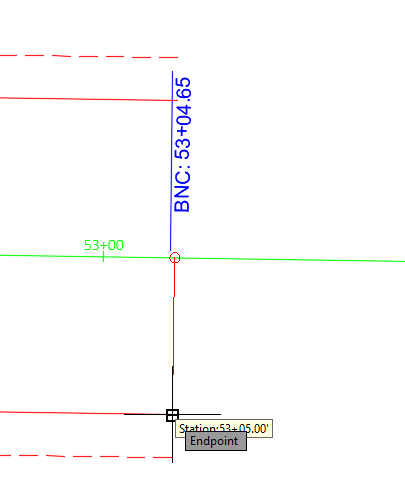
Right click the new region > Insert Region - After > 4thAve-FullSection > End Station > End of the alignments
-
OK > Rebuild Corridor
- Save for use with next exercise
Set targets
Exercise files: Continue with previous data set or start with: rurl-int-mnln-asmbly-crdr-trgt-end-data-c3d16.zip
Start with 12345678\Design\Corridors\Crdr-25-4thAve.dwg
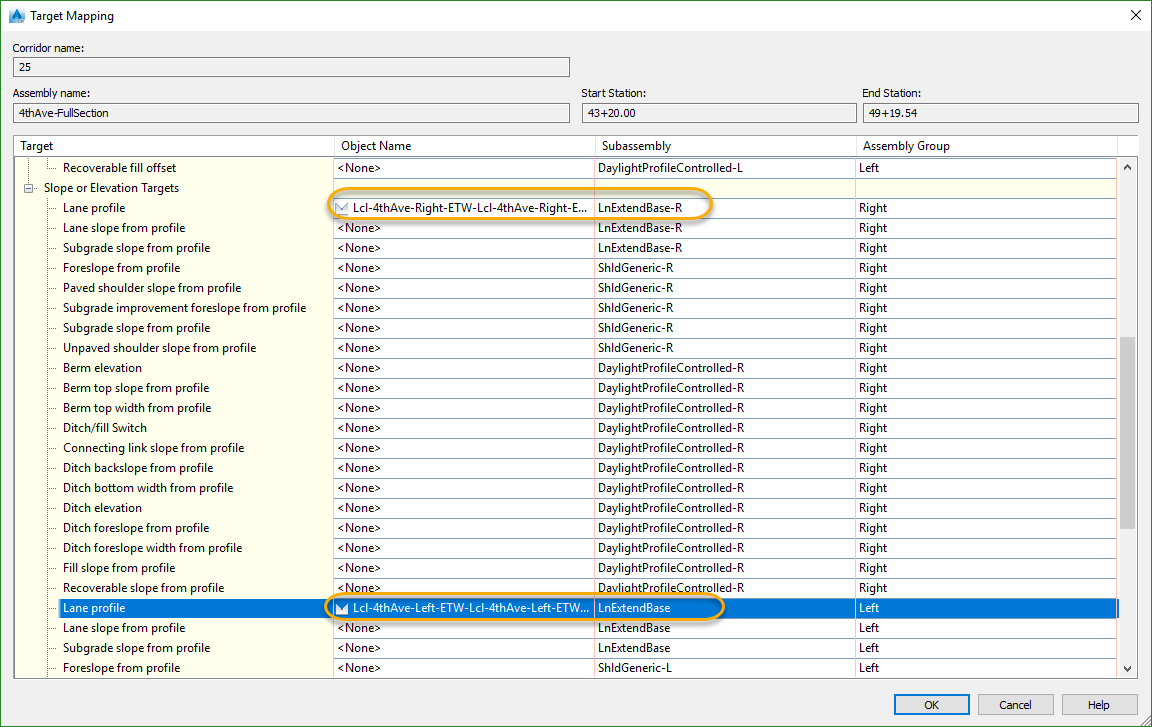
Now we will make sure the targets are correct for 4thAve. You can go into Corridor Properties and select the ellipse for each one and edit there or better yet select Edit Targets and select the region. That way you will only be show the targets in that region.
- Select the Corridor > Edit Targets > Select the first region
-
Surfaces > Click here to set all > Exist
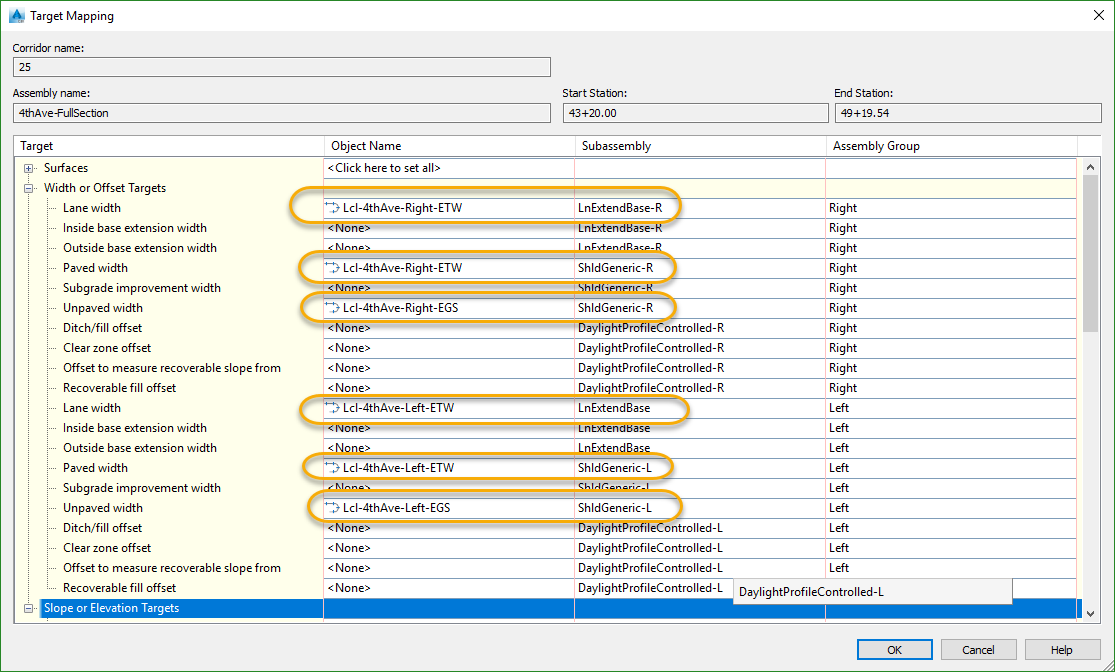
- The next section will only have targets on the right
- The other Daylight section will only have targets on the left
-
The last section will be targeted the same as the first

- Save